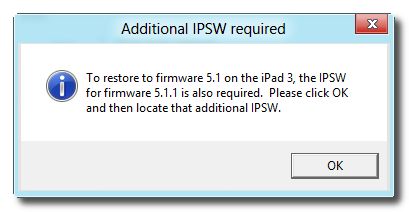
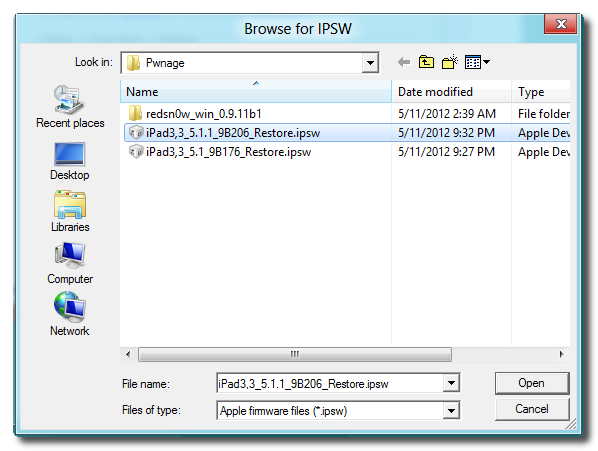
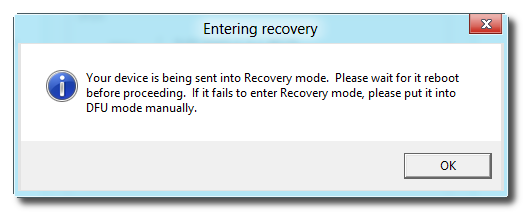
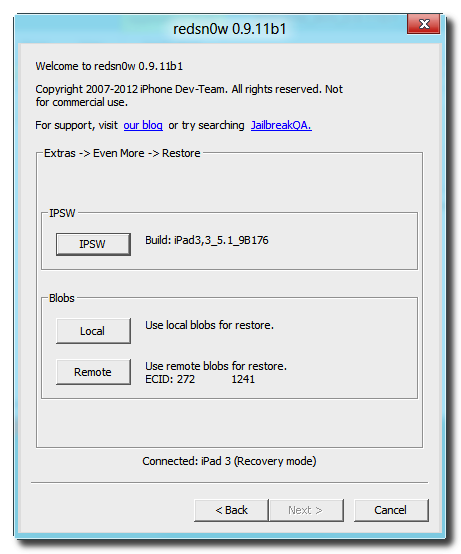
These are instructions on how to jailbreak your iPad 1 on the iOS 5.1.1 firmware using RedSn0w for Mac.
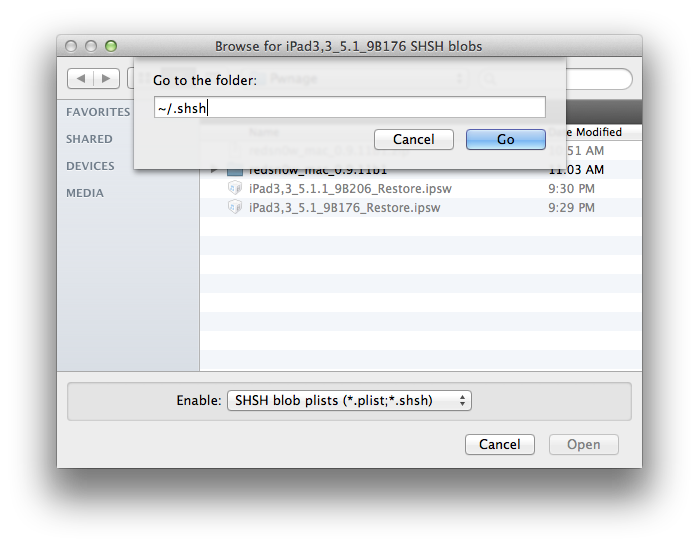
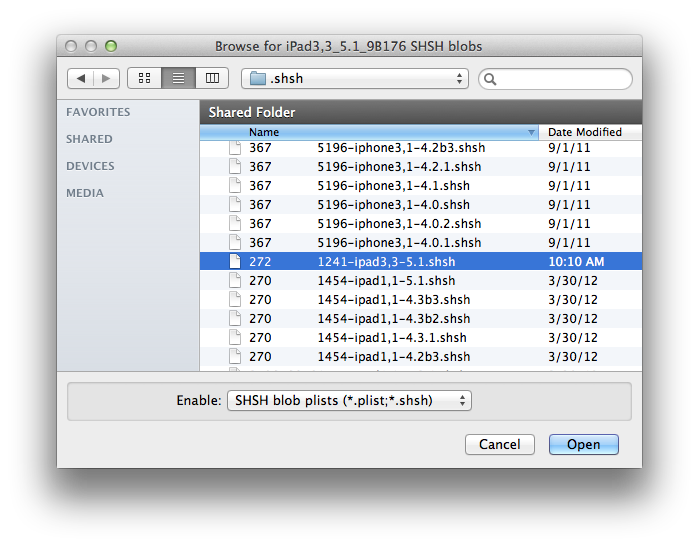
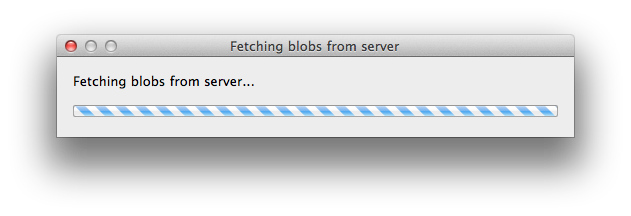
This jailbreak is tethered which means you will need to connect your device to the computer each time you reboot. Finally, it may be prudent to save your SHSH Blobs by following this tutorial before continuing.
If you are on iOS 5.1 and want to stay on that firmware you can still use these instructions by performing the same steps with the iOS 5.1 firmware.
Step One
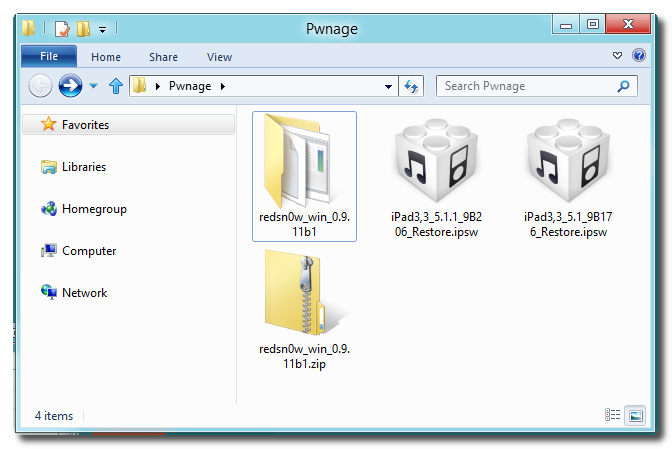
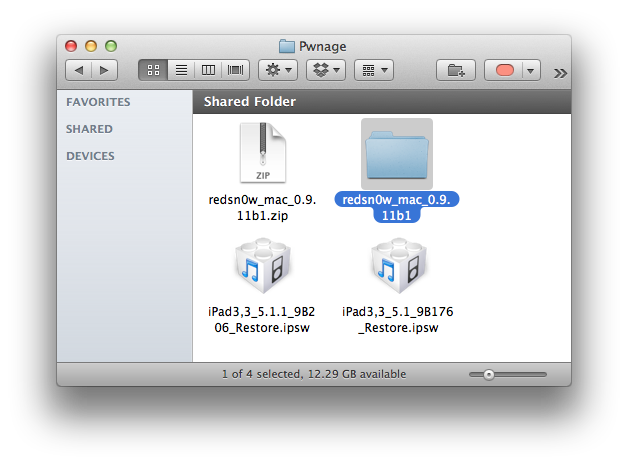
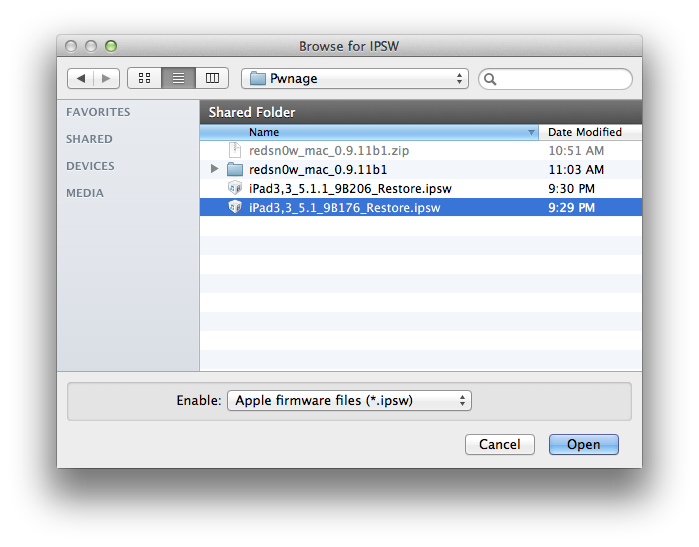
Create a folder on your desktop called Pwnage
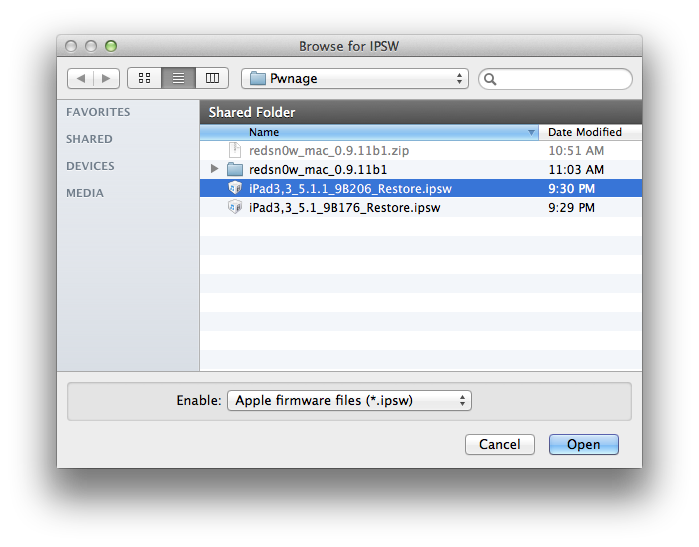
Download the latest version of RedSn0w from here and place it in the Pwnage folder. Likewise, download the 5.1.1 firmware from here and place it in the Pwnage folder. (Note: you do not need to download the 5.1.1 firmware if you are already on iOS 5.1.1)
Extract the RedSn0w zip file by double clicking it.

Step Two: (Skip this step if you're on iOS 5.1.1 already)
Connect your iPad to the computer and launch iTunes.

Select your iPad from the list of devices on the left. Now hold down Option and click the Restore button. Restore is preferred as it won't create any wasted space on your iPad.

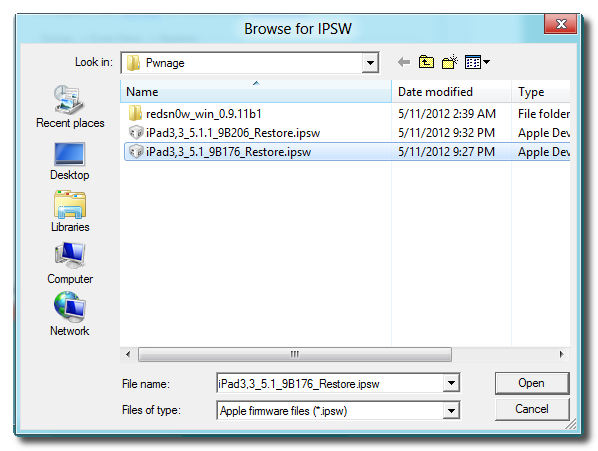
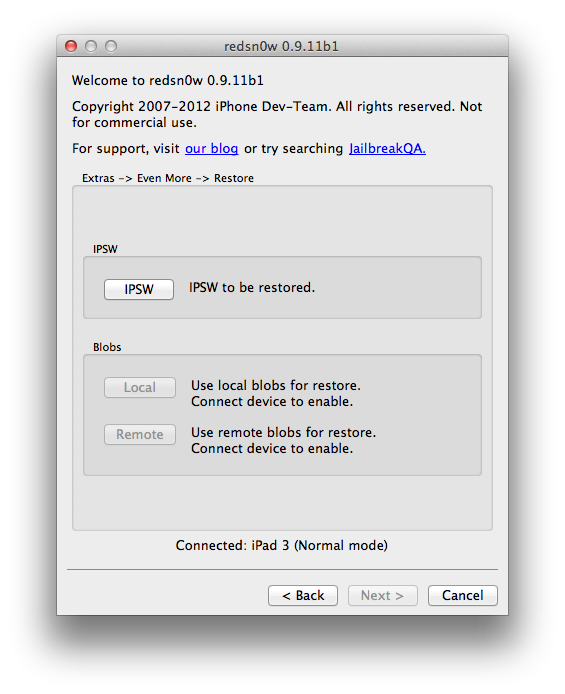
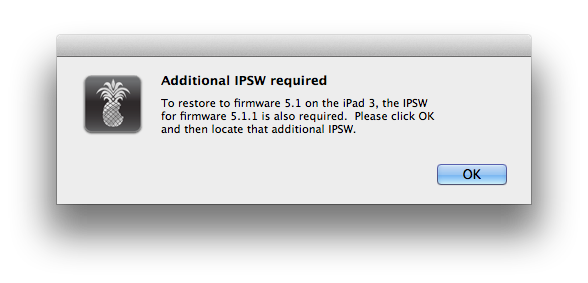
Navigate to the Pwnage folder on your desktop and select the 5.1.1 firmware ipsw. Click the Choose button to continue.

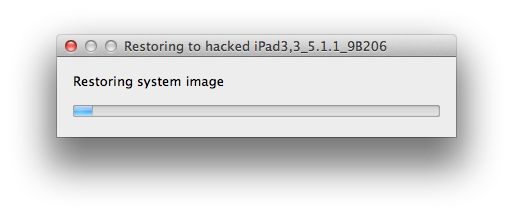
iTunes will now update your iPad to the new firmware.
Step Three
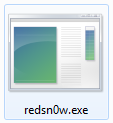
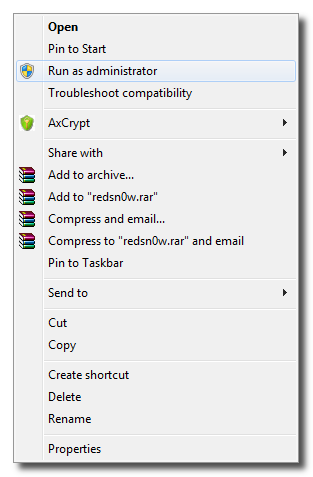
Launch the redsn0w application from the redsn0w folder we extracted earlier.

Step Four
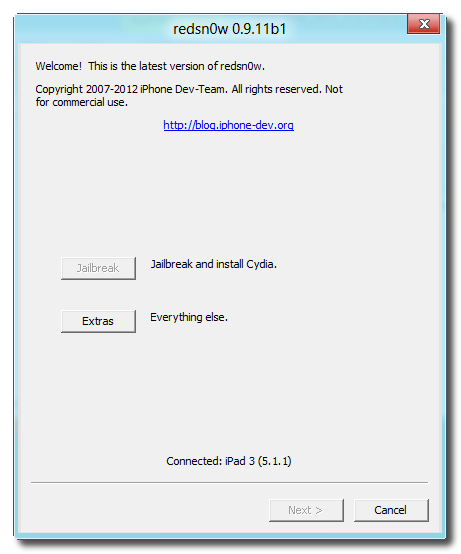
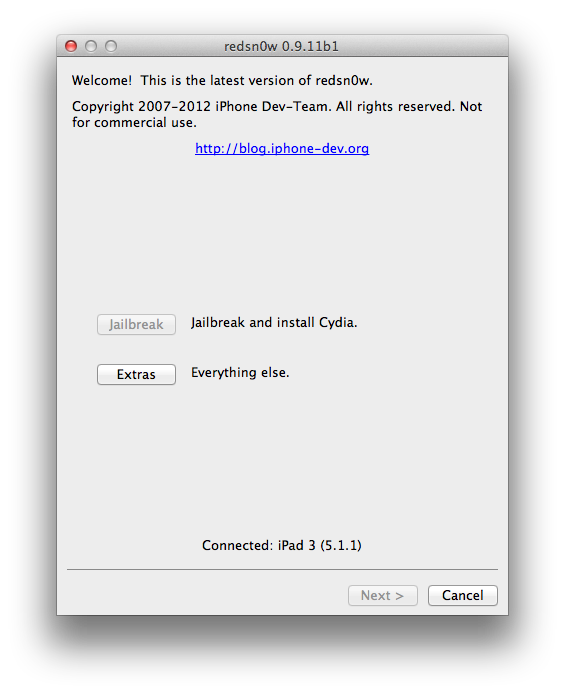
Once RedSn0w opens click the Jailbreak button

Step Five
Plug your iPad into the computer and make sure its OFF then click the Next button

Step Six
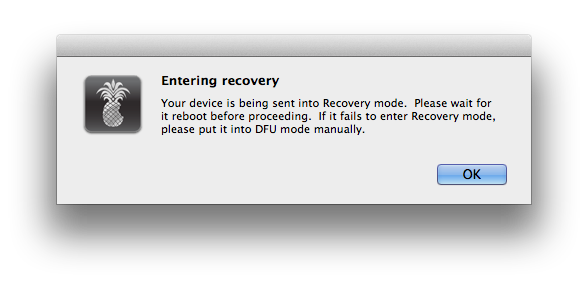
RedSn0w will now guide you through the steps to get into DFU mode.

Hold down both the Home button and the Power button for 10 seconds.

Release the Power button and continue holding the Home button until RedSn0w detects the device.

Step Seven
Your iPad will now reboot

Step Eight
RedSn0w will prepare the jailbreak data.

Step Nine
Select Cydia from the list of options and click Next.

Step Ten
Your iPad will now be rebooted again and RedSn0w will begin uploading the new RAM Disk and Kernel.

Step Eleven
Once this is complete you will be notified that RedSn0w is done. When your iPad finishes rebooting (5 minutes or so) it will be jailbroken with Cydia on the SpringBoard.

BOOT TETHERED
Once you have jailbroken you will need to rerun redsn0w to boot tethered.
Step One
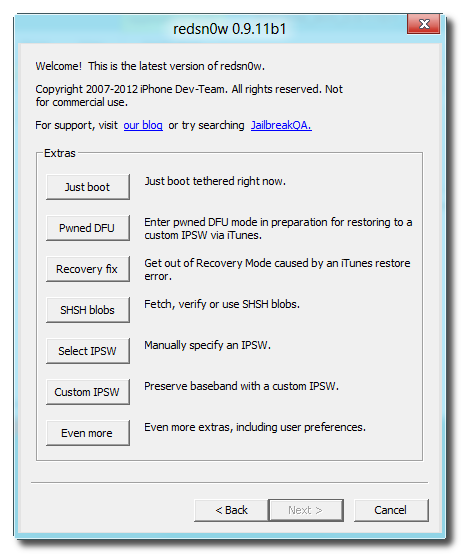
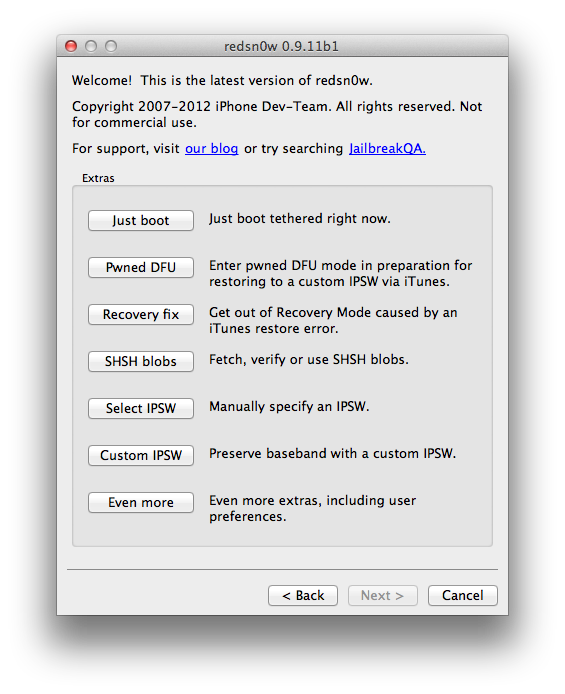
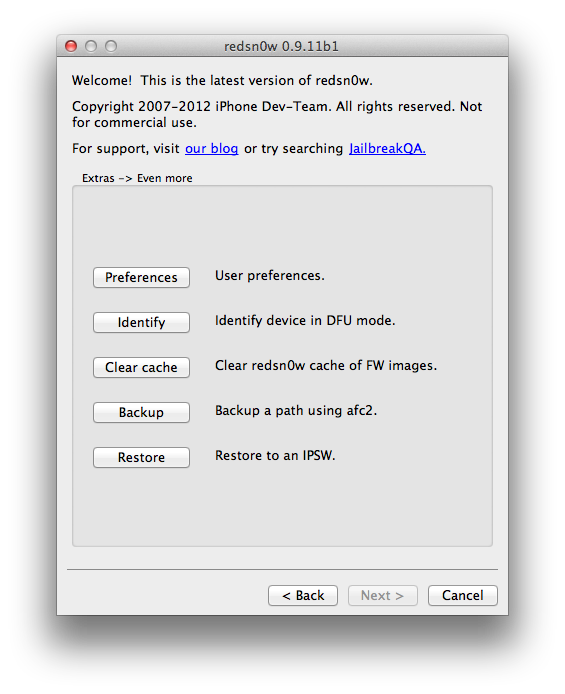
From the main RedSn0w menu click the Extras button.

Step Two
Select Just boot from the Extras menu to just boot tethered.

*As usual a big thanks to the iPhone Dev-Team and Geohot for their hard work and contribution to the iPhone community.
This jailbreak is tethered which means you will need to connect your device to the computer each time you reboot. Finally, it may be prudent to save your SHSH Blobs by following this tutorial before continuing.
If you are on iOS 5.1 and want to stay on that firmware you can still use these instructions by performing the same steps with the iOS 5.1 firmware.
Step One
Create a folder on your desktop called Pwnage
Download the latest version of RedSn0w from here and place it in the Pwnage folder. Likewise, download the 5.1.1 firmware from here and place it in the Pwnage folder. (Note: you do not need to download the 5.1.1 firmware if you are already on iOS 5.1.1)
Extract the RedSn0w zip file by double clicking it.

Step Two: (Skip this step if you're on iOS 5.1.1 already)
Connect your iPad to the computer and launch iTunes.

Select your iPad from the list of devices on the left. Now hold down Option and click the Restore button. Restore is preferred as it won't create any wasted space on your iPad.

Navigate to the Pwnage folder on your desktop and select the 5.1.1 firmware ipsw. Click the Choose button to continue.
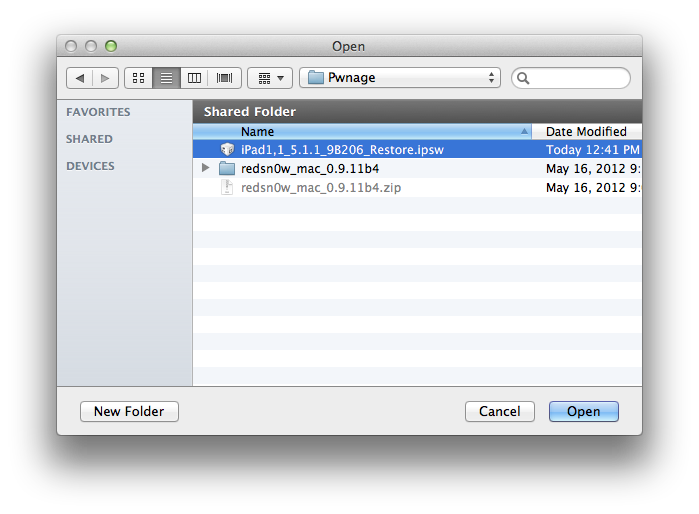
iTunes will now update your iPad to the new firmware.
Step Three
Launch the redsn0w application from the redsn0w folder we extracted earlier.

Step Four
Once RedSn0w opens click the Jailbreak button

Step Five
Plug your iPad into the computer and make sure its OFF then click the Next button

Step Six
RedSn0w will now guide you through the steps to get into DFU mode.

Hold down both the Home button and the Power button for 10 seconds.

Release the Power button and continue holding the Home button until RedSn0w detects the device.

Step Seven
Your iPad will now reboot

Step Eight
RedSn0w will prepare the jailbreak data.

Step Nine
Select Cydia from the list of options and click Next.

Step Ten
Your iPad will now be rebooted again and RedSn0w will begin uploading the new RAM Disk and Kernel.

Step Eleven
Once this is complete you will be notified that RedSn0w is done. When your iPad finishes rebooting (5 minutes or so) it will be jailbroken with Cydia on the SpringBoard.

BOOT TETHERED
Once you have jailbroken you will need to rerun redsn0w to boot tethered.
Step One
From the main RedSn0w menu click the Extras button.

Step Two
Select Just boot from the Extras menu to just boot tethered.

*As usual a big thanks to the iPhone Dev-Team and Geohot for their hard work and contribution to the iPhone community.