These are instructions on how to perform an untethered jailbreak of your iPad 2 running iOS 5.0.1 using Absinthe for Windows.
Warning***: Before you continue make sure to do a backup of your device in iTunes as you may lose your Camera Roll during this process.
Warning***: Before you continue make sure to do a backup of your device in iTunes as you may lose your Camera Roll during this process.
Step One
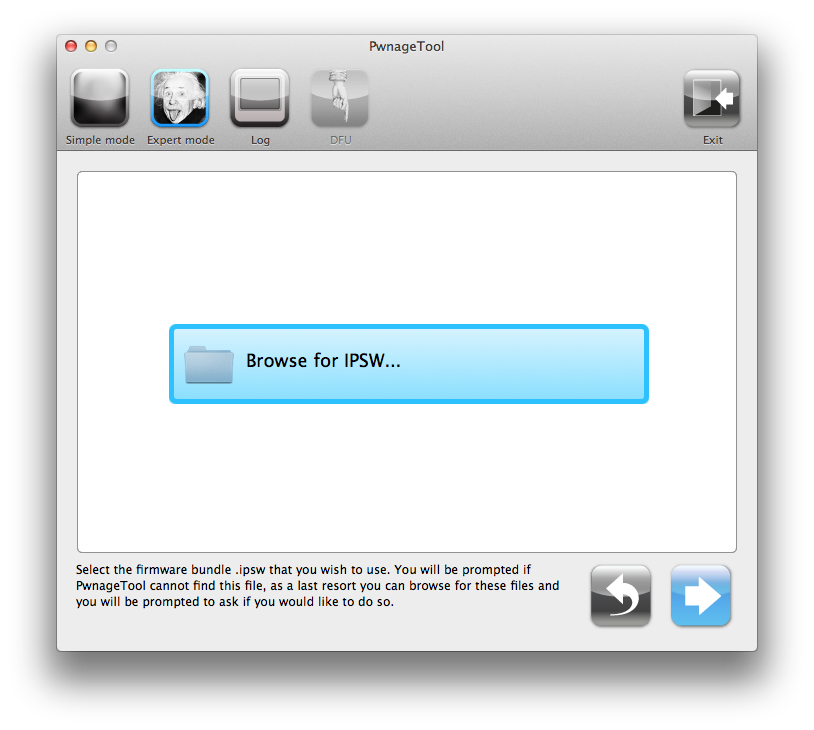
Download the latest version of Absinthe from here.
Step Two
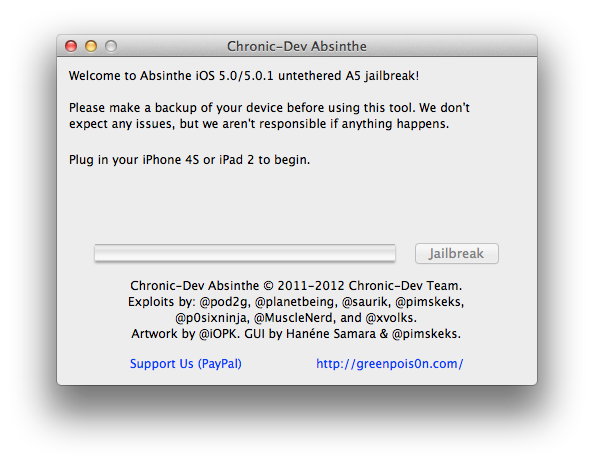
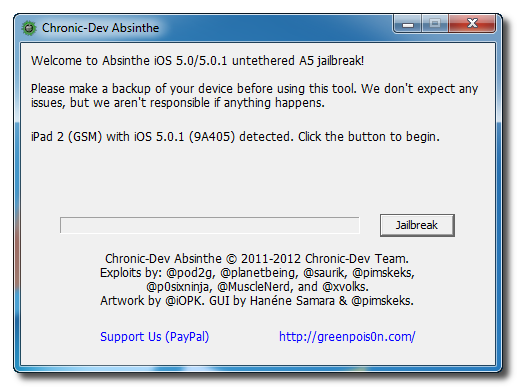
Double click to extract the downloaded archive and launch the Absinthe application.

Step Three
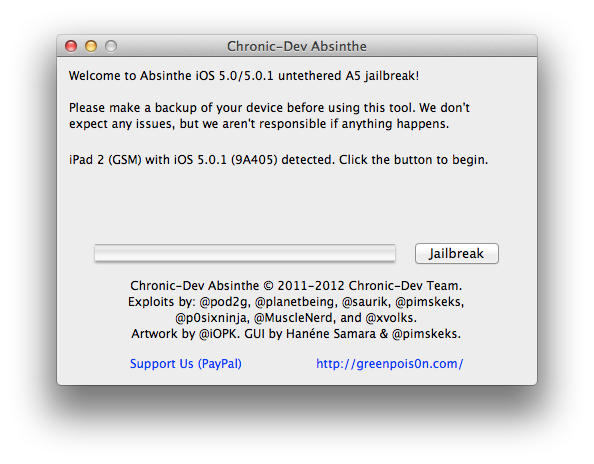
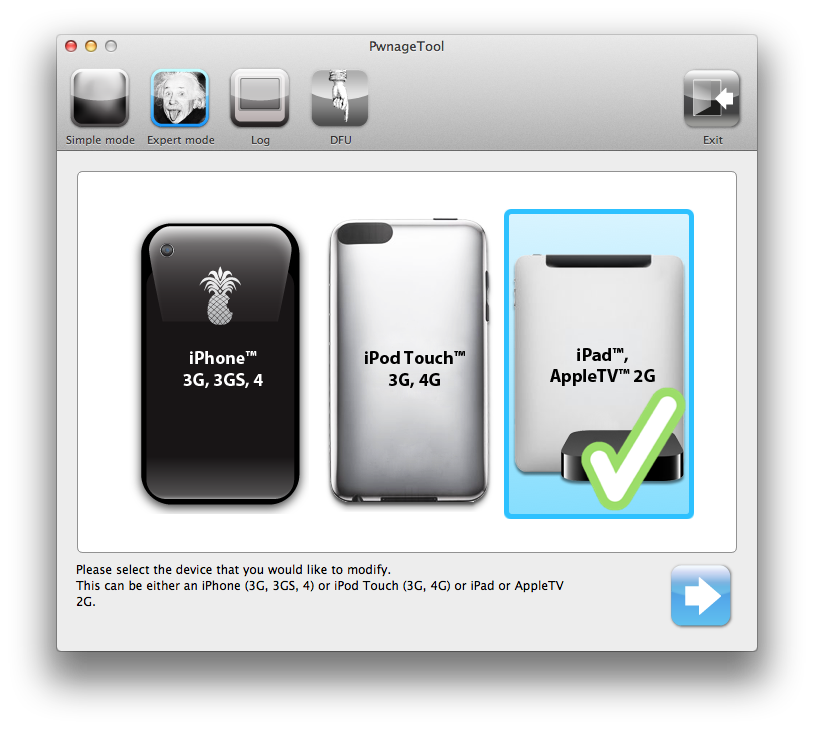
As prompted, connect your iPad 2 to the computer via USB. Make sure to remove any passcodes or VPN settings you've previously set.

Step Four
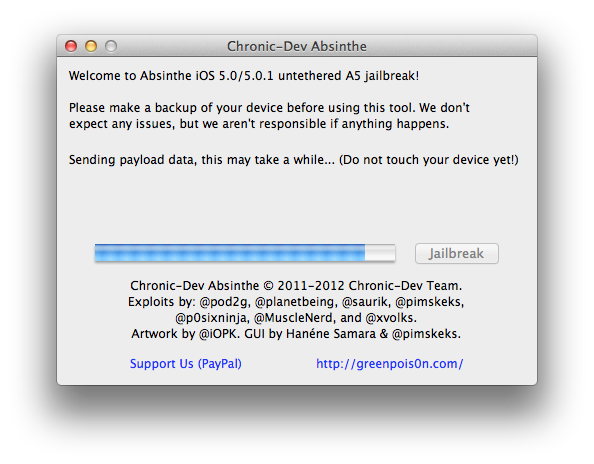
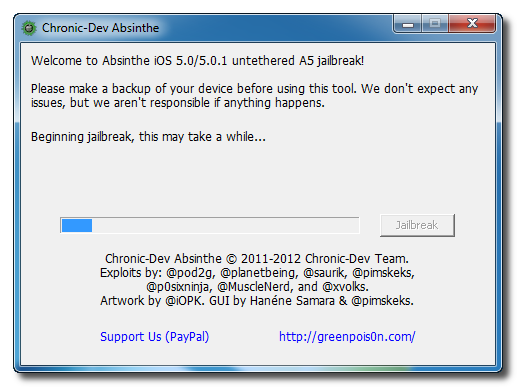
Click the Jailbreak button to begin

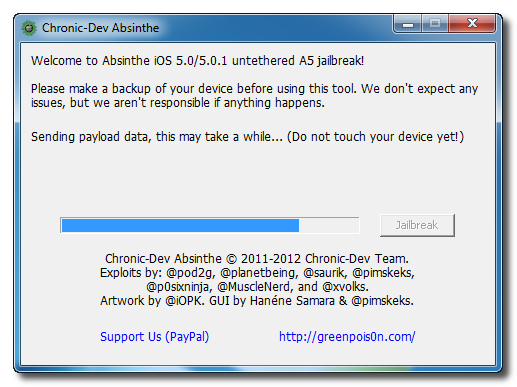
Step Five
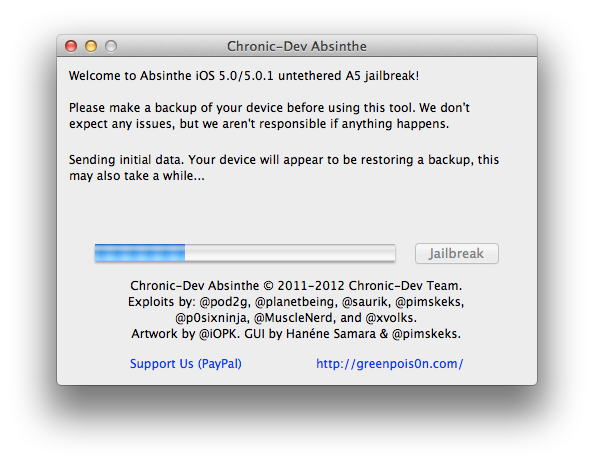
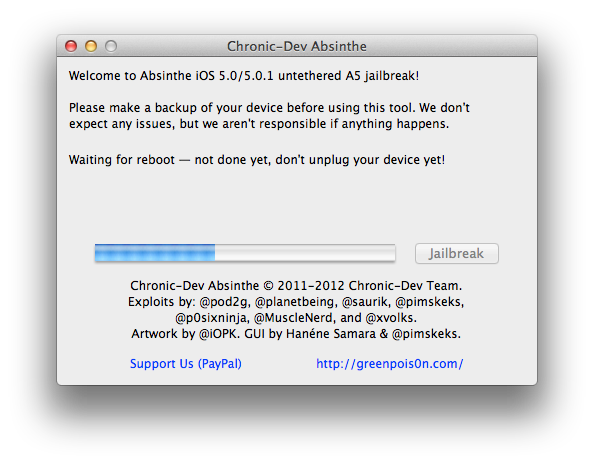
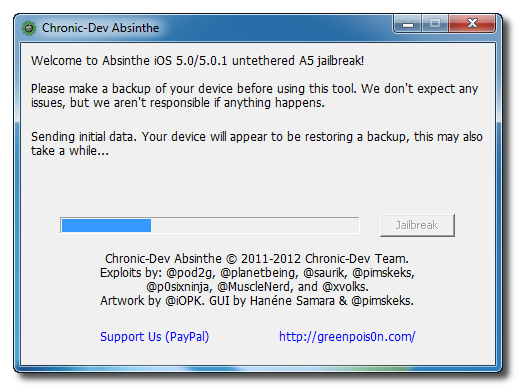
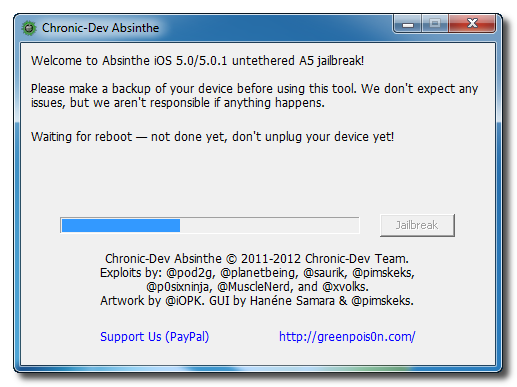
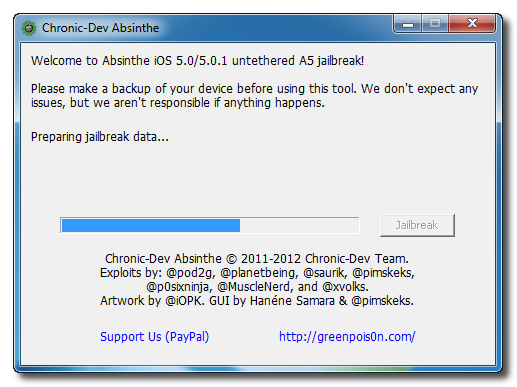
The application will take you through several steps of the jailbreak: Sending initial data, waiting for reboot, waiting for device to finish booting, Preparing jailbreak data, and Sending payload data.


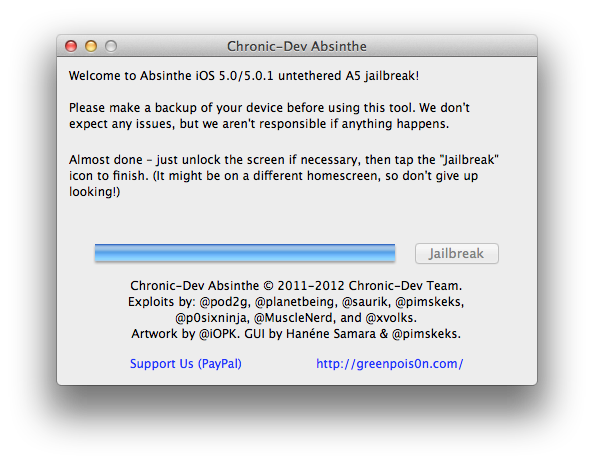
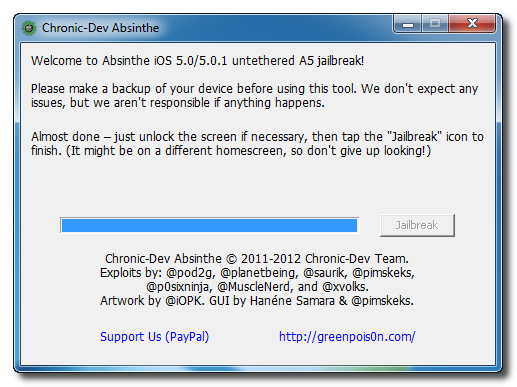
Step Six
You will be informed that the jailbreak is 'Almost done'.

Step Seven
On you device, locate the Absinthe icon and press it to complete your jailbreak. It could be on any homescreen.

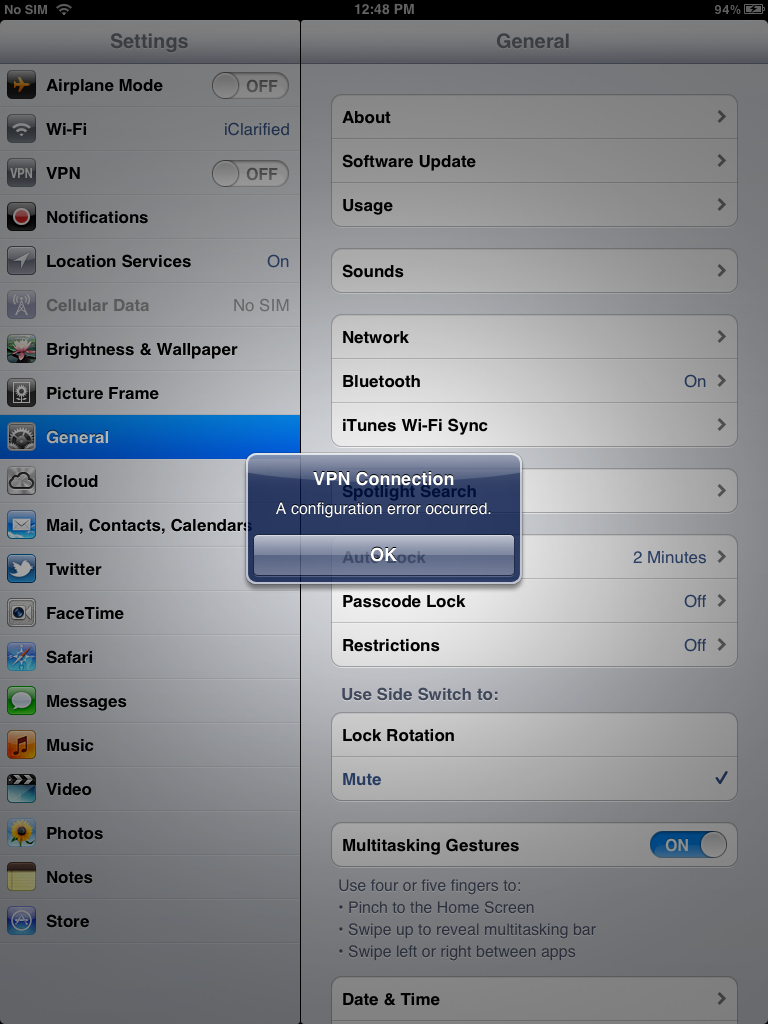
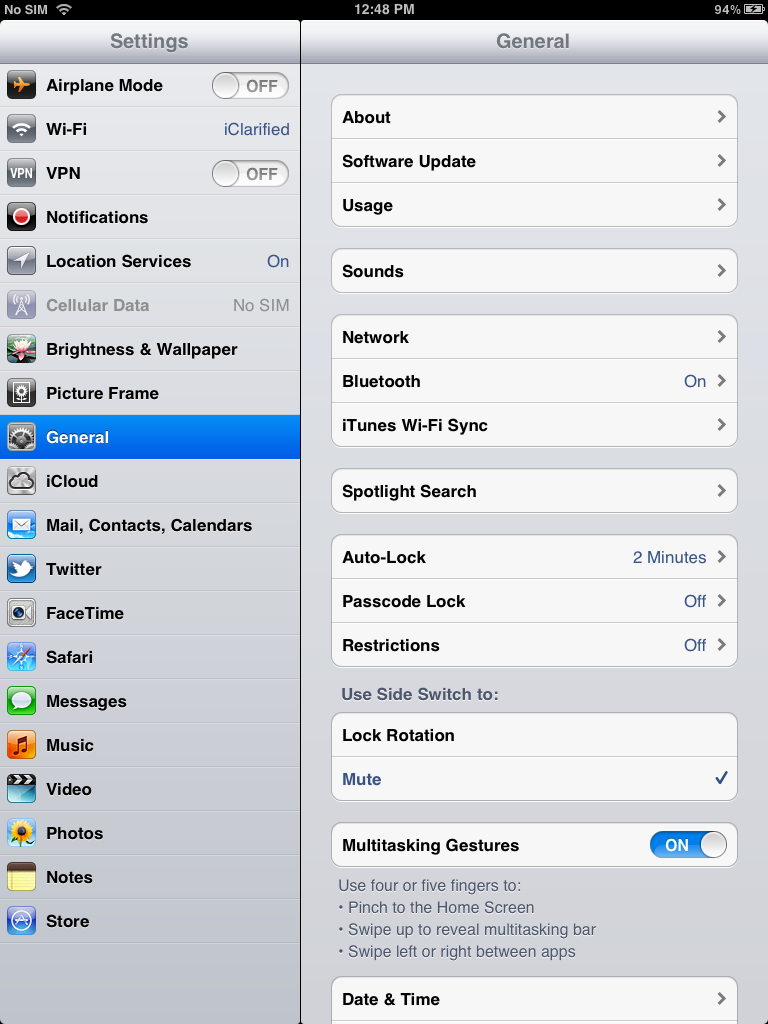
If the server is down and you get an Error establishing a database connection message then tap the Settings icon on your springboard and turn on VPN.


You will get a configuration error; however, after about a minute your device will reboot.

Once your device restarts you will be jailbroken with Cydia on the Springboard!
Download the latest version of Absinthe from here.
Step Two
Double click to extract the downloaded archive and launch the Absinthe application.
Step Three
As prompted, connect your iPad 2 to the computer via USB. Make sure to remove any passcodes or VPN settings you've previously set.

Step Four
Click the Jailbreak button to begin
Step Five
The application will take you through several steps of the jailbreak: Sending initial data, waiting for reboot, waiting for device to finish booting, Preparing jailbreak data, and Sending payload data.
Step Six
You will be informed that the jailbreak is 'Almost done'.
Step Seven
On you device, locate the Absinthe icon and press it to complete your jailbreak. It could be on any homescreen.

If the server is down and you get an Error establishing a database connection message then tap the Settings icon on your springboard and turn on VPN.

You will get a configuration error; however, after about a minute your device will reboot.

Once your device restarts you will be jailbroken with Cydia on the Springboard!